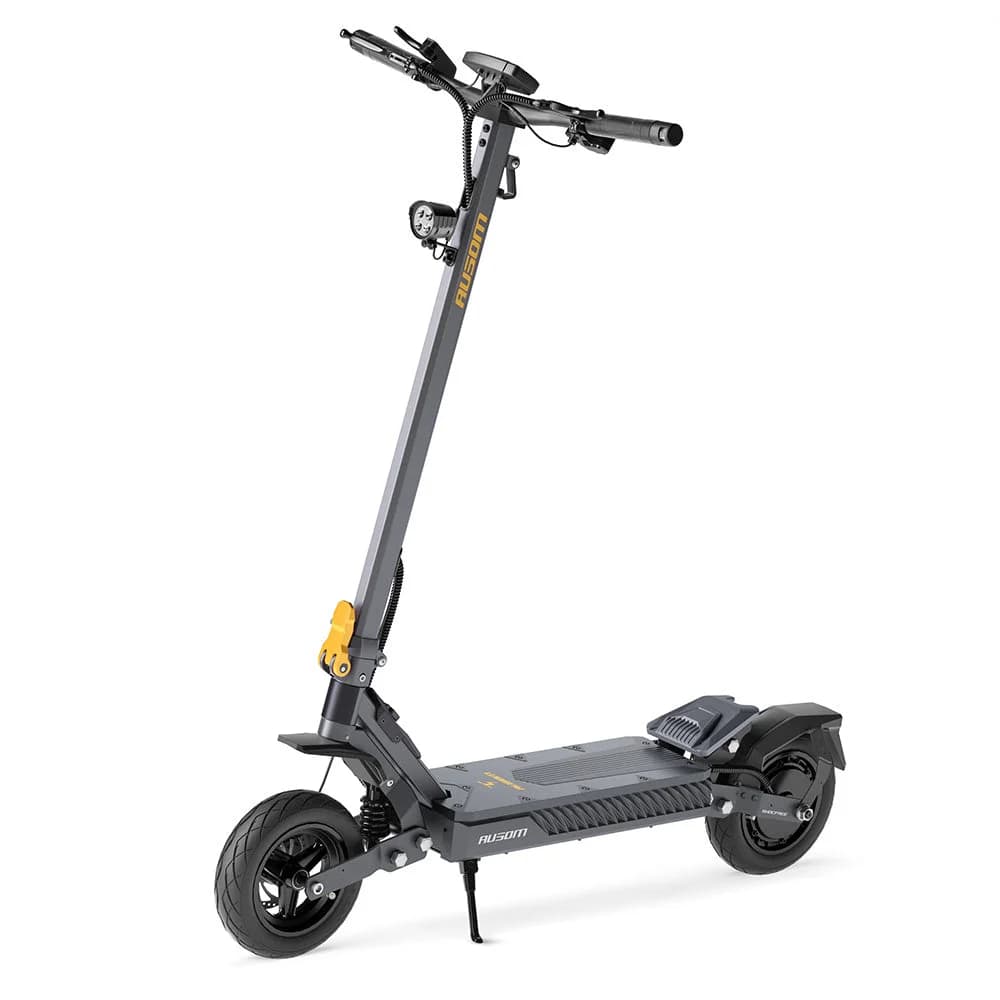
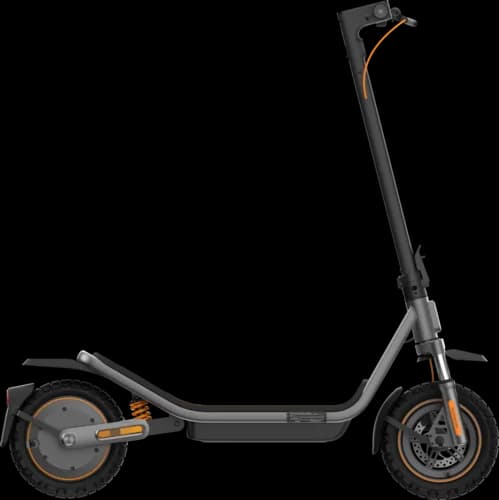
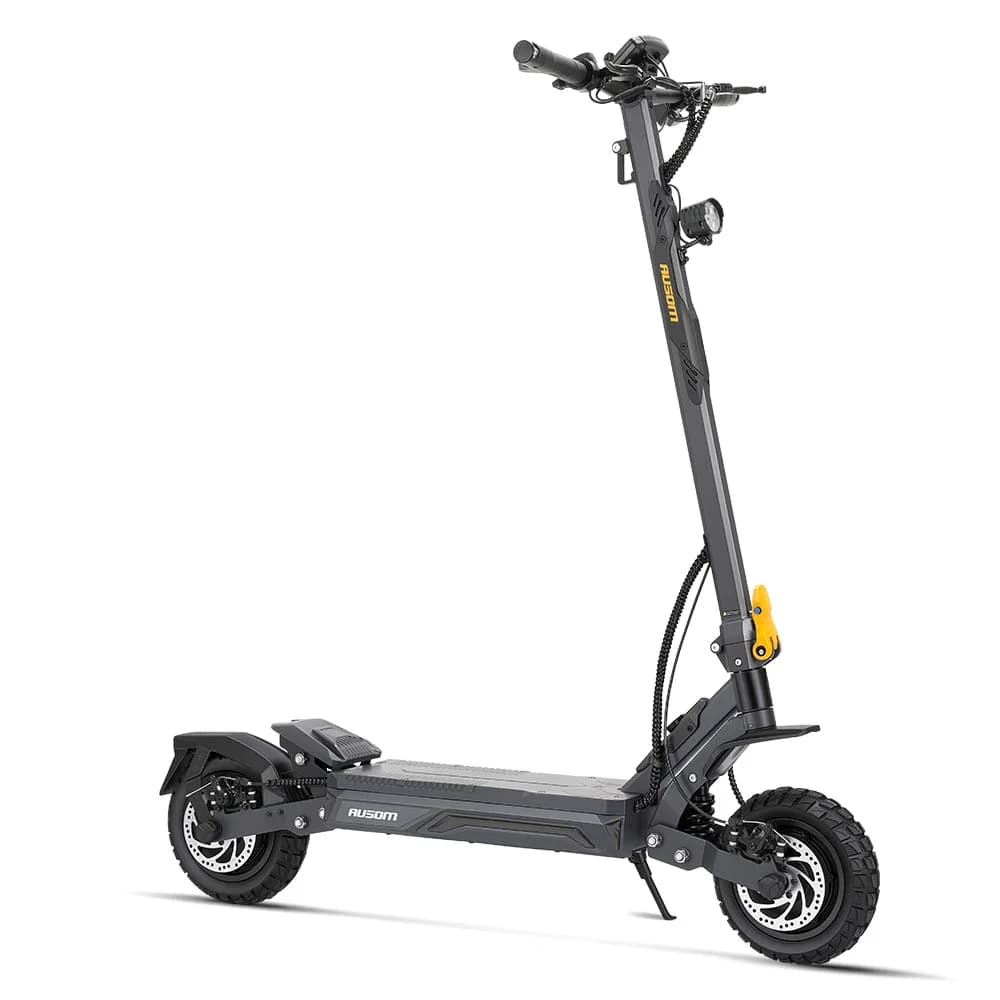
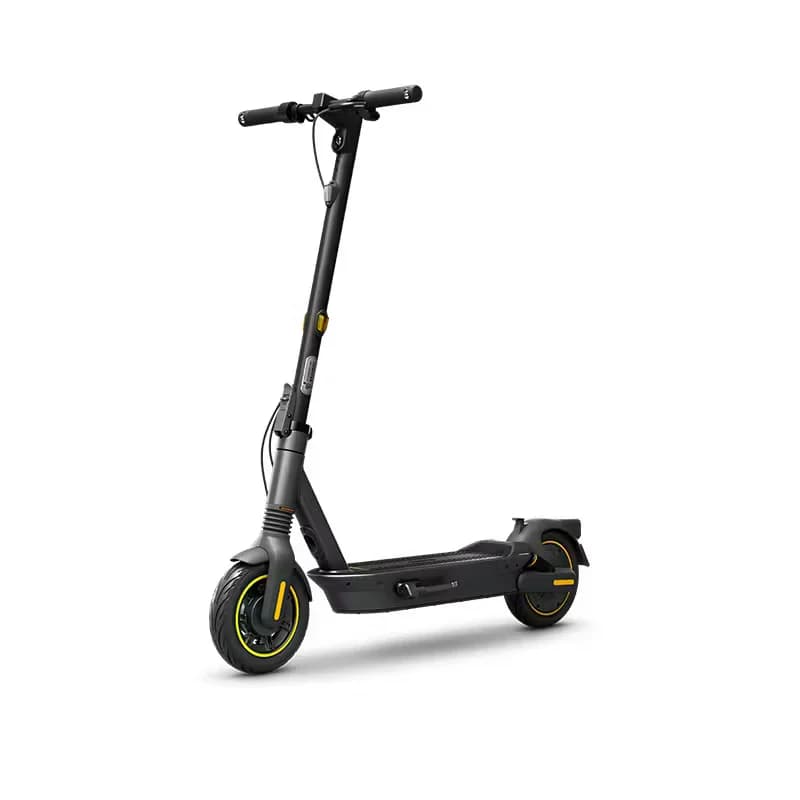
Ausom L1 vs Segway F3 eKickScooter
Side-by-side comparison · Specs, scores & AI verdict
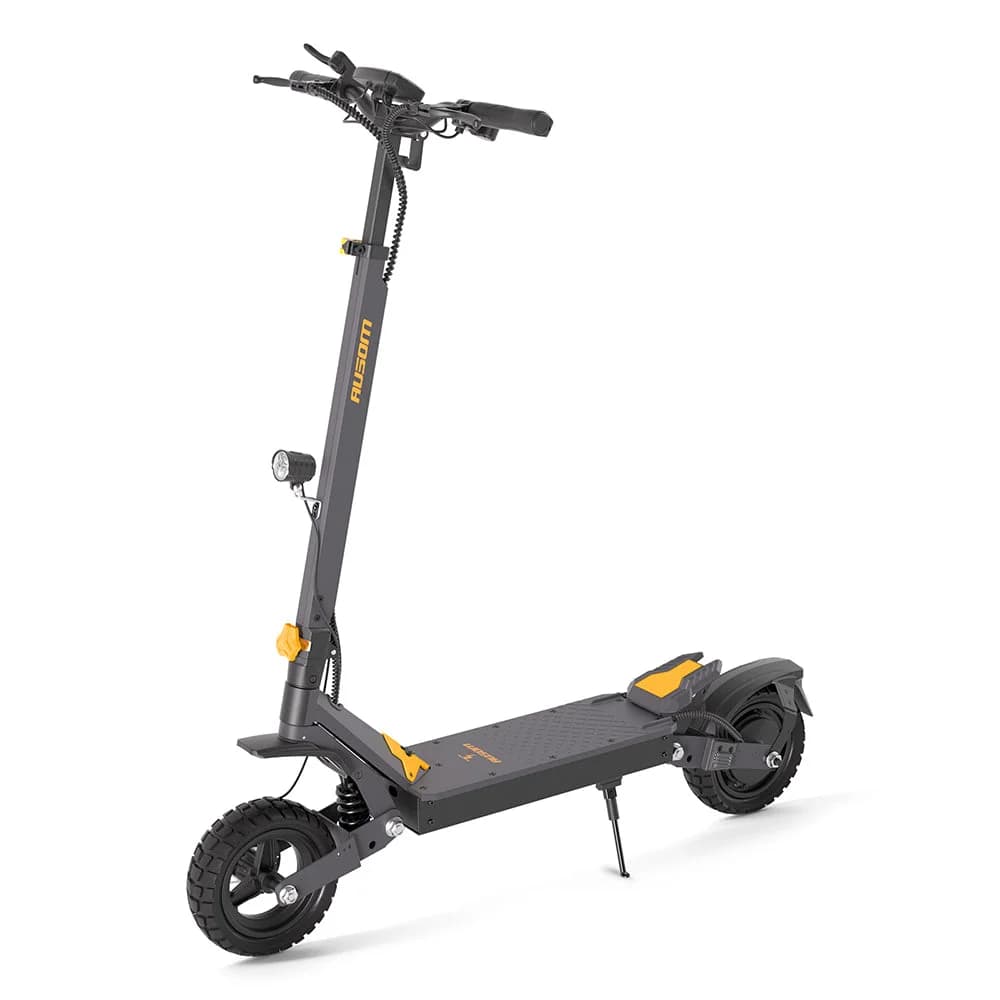
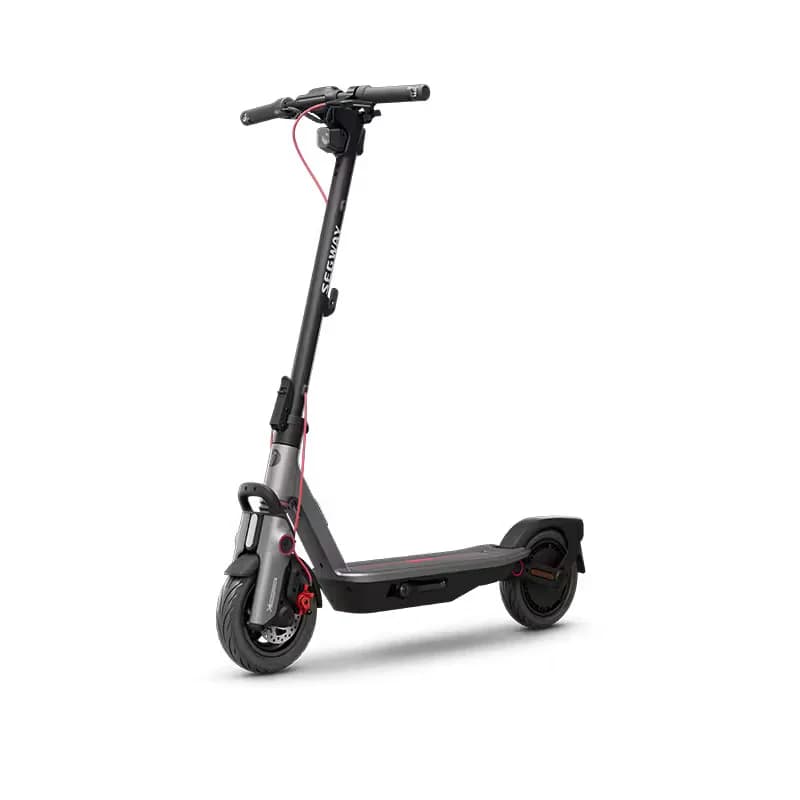
Too close to call — scores within 5 points
Why choose one over the other?
Ausom L1 leads overall (65 vs 65/100). Ausom L1 pulls ahead most on Power & Speed (77 vs 60); Segway F3 eKickScooter answers on Portability (62 vs 25).
Ausom L1 wins on
- •Power & Speed: 77 vs 60
- •Safety: 88 vs 76
- •Range: 78 vs 69
Segway F3 eKickScooter wins on
- •Portability: 62 vs 25
- •Tech: 80 vs 50
- •Build Quality: 60 vs 55
- •Comfort: 56 vs 51
Choose the Ausom L1 if power & speed matters most; choose the Segway F3 eKickScooter if you prioritise portability.
| Spec | Ausom L1 | Segway F3 eKickScooter |
|---|---|---|
⚡ Drivetrain | ||
| Peak Power | 1.1 kW ✓ | 1.0 kW |
| Continuous Power | 800 W ✓ | 450 W |
| Max Torque | 27 Nm | — |
| Top Speed | 45 km/h ✓ | 32 km/h |
| Max Incline | — | 11.3 ° |
| Drive Config | Rear | Rear |
| Dual Motors | ✗ | ✗ |
🔋 Battery & Range | ||
| Battery Capacity | 749 Wh ✓ | 477 Wh |
| Amp Hours | 15.6 Ah ✓ | 10.2 Ah |
| Charge Time | 11 h | 8 h ✓ |
| Claimed Range | 70 km | 70 km |
| Cell Chemistry | Li-ion | — |
| Removable Battery | — | — |
| Regen Braking | ✗ | ✓ |
📐 Size & Portability | ||
| Weight | 28.2 kg | 19.2 kg ✓ |
| Max Payload | 130 kg ✓ | 120 kg |
| Deck Length | 51.5 cm | — |
| Deck Width | 19 cm | — |
| Ground Clearance | 18 cm | — |
| Foldable | ✓ | ✓ |
🛤️ Ride Comfort | ||
| Wheel Diameter | 10" | 10" |
| Pneumatic Tires | ✓ | ✓ |
| Puncture Resistant | ✓ | ✓ |
| Suspension | Dual | Dual |
| Adjustable Susp. | ✗ | ✓ |
| Seat | ✗ | ✗ |
🛡️ Safety | ||
| Front Brake | Disc | Disc |
| Rear Brake | Disc | Electronic |
| Front Lights | ✓ | ✓ |
| Rear Lights | ✓ | ✓ |
| Turn Signals | ✓ | ✓ |
| IP Rating | IP54 | IPX6 |
| Kids' Scooter | ||
📱 Tech & Smart | ||
| Companion App | ✗ | ✓ |
| Riding Modes | 3 | 3 |
| Cruise Control | ✓ | ✓ |
| OTA Updates | — | ✓ |
| NFC Anti-Theft | ✓ | — |
| GPS Tracking | ✗ | ✓ |
| Warranty | 24 months | 24 months |
📝 Our Verdict
The biggest measurable difference: tech — the Segway F3 eKickScooter leads by 30 points. Both scooters score closely overall, making this a genuine toss-up on raw performance. For riders who prioritise speed, the Ausom L1 is the clear choice.
Ausom L1 vs Segway F3 eKickScooter — Ausom L1
The Ausom L1 (65/100) and Segway F3 eKickScooter (65/100) score nearly the same overall. The Ausom L1 reaches 45 km/h top speed.